
A Homeowner's Guide to Fence Installation: Materials, Costs, and Permits
Planning to install a new fence? This guide covers everything you need to know, from choosing materials and budgeting costs to navigating local building permits.
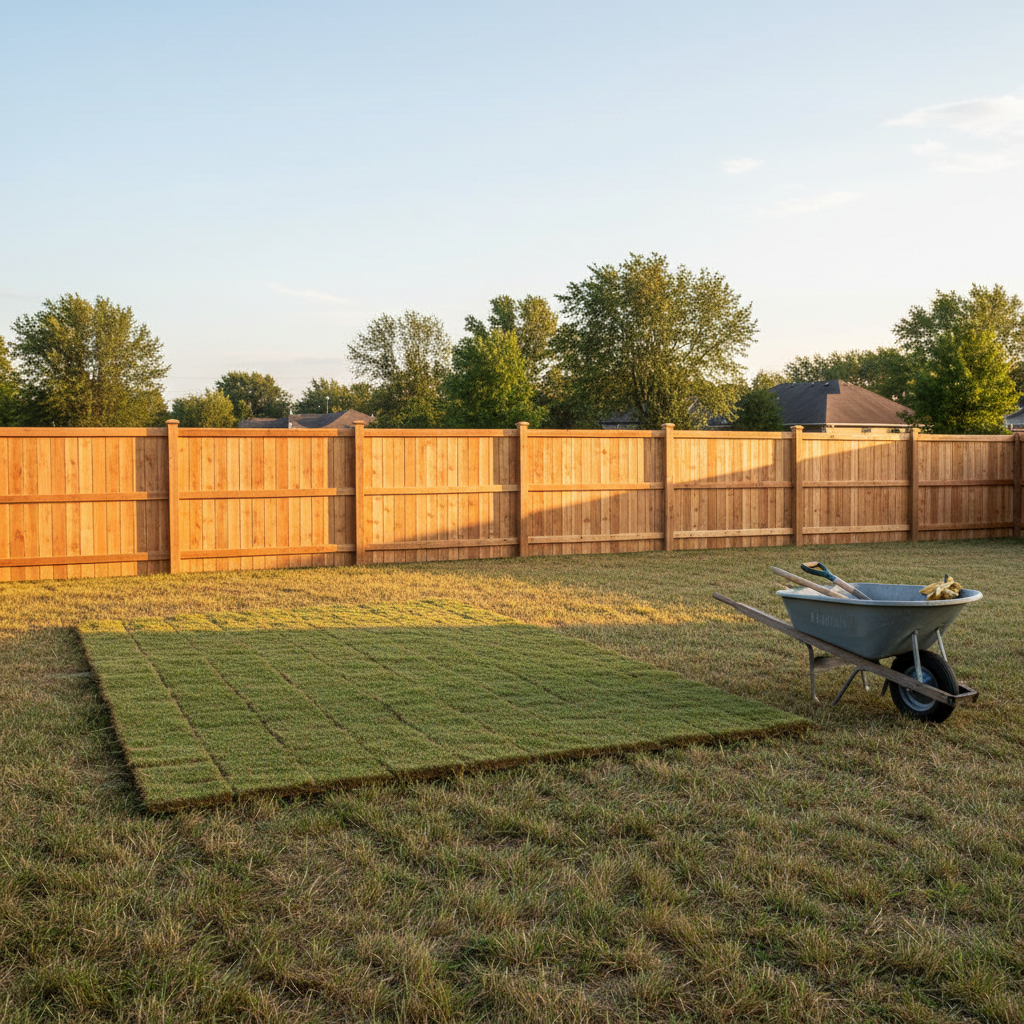
A new fence can transform your property. It can provide privacy from neighbors, create a safe play area for kids and pets, secure a swimming pool, and boost your home's curb appeal. But before you start calling contractors, it’s important to understand the key decisions that go into a successful fence installation.
This guide will walk you through the entire process, from picking the right material for your needs and budget to understanding the hidden costs and navigating the often-confusing world of building permits. Approaching this project with the right information will help you hire a better pro, avoid costly mistakes, and end up with a fence you'll love for years to come.
Choosing Your Fence Material: Pros, Cons, and Costs
The first and most significant decision you'll make is the material. This choice dictates not only the look of your fence but also its price, durability, and how much time you'll spend maintaining it down the road. Let's break down the most common options.
Wood Fencing: The Classic Choice
Wood is the traditional choice for residential fencing, prized for its natural beauty and versatility.
- Pros: Timeless, natural aesthetic that blends well with landscaping. Can be painted or stained to match your home. Relatively affordable upfront compared to vinyl or composite.
- Cons: Requires regular maintenance to prevent rot, warping, and insect damage. This means cleaning and re-staining or sealing every 3-5 years. Lifespan is generally shorter than manufactured materials.
- Common Types: Pressure-treated (PT) pine is the most budget-friendly option. Cedar and redwood are more expensive but are naturally more resistant to rot and insects, giving them a longer lifespan and richer color.
- Typical Cost: $15–$35 per linear foot, installed.
What this means for you: If you love the classic look of a wood fence and don't mind the ongoing maintenance, it's a great choice. When getting quotes, ask what type of wood is being used, as a cedar fence is a significant upgrade over standard pressure-treated pine.
Vinyl (PVC) Fencing: The Low-Maintenance Champ
Vinyl fencing has surged in popularity because it offers the look of a classic fence without the upkeep.
- Pros: Extremely low maintenance—just needs occasional washing. It won't rot, fade, or need painting. Available in a wide variety of styles, including privacy, picket, and ranch rail.
- Cons: Higher upfront cost than wood. Can become brittle and crack in extreme cold or upon a hard impact (like from a lawnmower). Repairs can be difficult, as you may need to replace an entire panel rather than a single board.
- Typical Cost: $25–$50 per linear foot, installed.
What this means for you: Vinyl is a “set it and forget it” option. You'll pay more initially, but you'll save considerable time and money on maintenance over the life of the fence. It's an excellent choice if your primary goal is hassle-free privacy.
Aluminum & Steel Fencing: For Security and Elegance
Often called ornamental or wrought iron style fences, metal provides a sense of security and a high-end look without blocking views.
- Pros: Extremely durable and long-lasting. Requires very little maintenance. Aluminum is rust-proof, and modern steel fences come with protective coatings. Provides security without sacrificing an open feel.
- Cons: Offers no privacy. It is one of the more expensive fencing options. While strong, aluminum can be dented or bent by a significant impact.
- Typical Cost: $40–$100+ per linear foot, installed.
What this means for you: Metal fencing is ideal for pool enclosures (it meets most safety codes), front yards, or properties where you want to define a boundary without closing off the space. It adds a formal, elegant touch to a home.
Chain-Link Fencing: The Utilitarian Option
Chain-link is a purely functional, no-frills fencing solution.
- Pros: The most affordable option per linear foot. Extremely durable and requires virtually zero maintenance. Galvanized or vinyl-coated versions are resistant to rust.
- Cons: Widely considered the least attractive option. Offers no privacy unless you add privacy slats, which can be expensive and may catch the wind.
- Typical Cost: $10–$25 per linear foot, installed.
What this means for you: If your only goals are to contain a pet or mark a boundary on a tight budget, chain-link is a practical choice. It's common in backyards where aesthetics are a lower priority.
Composite Fencing: The Modern Hybrid
Composite fencing is made from a blend of wood fibers and recycled plastic. It aims to provide the best of both worlds: the look of wood with the durability of vinyl.
- Pros: Mimics the rich look of wood but is resistant to rot and insects. Very low maintenance. Often made from recycled materials, making it an eco-friendly choice.
- Cons: Typically the most expensive fencing material. It's a heavier material, which can make installation more labor-intensive. As a newer product, its long-term performance over decades is less proven than wood or vinyl.
- Typical Cost: $45–$80+ per linear foot, installed.
What this means for you: Composite is a premium choice for homeowners who want the aesthetic of wood without the maintenance and are willing to invest more upfront for a modern, durable product.
Breaking Down the Costs: What Are You Really Paying For?
The price tag on a new fence is more than just the cost of pickets and posts. When you receive a quote from a contractor, it should account for several factors. Understanding these components will help you compare bids accurately.
- Linear Feet: The total length of your fence. This is the primary driver of cost.
- Height & Style: A 6-foot privacy fence will cost significantly more in materials and labor than a 4-foot picket fence.
- Material: As detailed above, a composite or aluminum fence can easily cost double or triple what a simple wood fence would.
- Labor: This typically accounts for 40-50% of the total project cost. Labor includes demolition of an old fence, site preparation, digging post holes, setting posts in concrete, and assembling the fence.
- Gates: Each gate is a significant added cost. They require more labor, sturdy gate posts, and expensive hardware (latches, hinges). A standard 4-foot walking gate might add $300-$600, while a 12-foot driveway gate could add thousands.
- Old Fence Removal: If you have an existing fence that needs to be torn down and hauled away, expect to pay extra for that service, often priced per linear foot.
- Site Complexity: A perfectly flat, clear yard is easy to work on. A yard with steep slopes, dense tree roots, or rocky soil will require more labor and may increase the cost.
- Permit Fees: Your contractor will typically pull the necessary permits, but the cost of the permit itself (usually $50-$500) will be passed on to you.
For a typical suburban backyard requiring about 150 linear feet of 6-foot privacy fencing, you can expect total project costs in these ranges:
- Pressure-Treated Wood: $4,000 – $8,000
- Vinyl (PVC): $6,000 – $11,000
- Aluminum (4-5 ft): $7,000 – $15,000+
What this means for you: Don't just look at the bottom-line number on a quote. Ask for an itemized breakdown so you can see how much you're paying for materials, labor, gates, and removal. This makes it easier to compare bids from different contractors fairly.
The Permit Puzzle: Don't Get Fenced In by Red Tape
Skipping the permit process is one of the biggest and most costly mistakes a homeowner can make. It might seem like a way to save a few hundred dollars and some time, but it can lead to massive headaches.
Why You Almost Always Need a Permit
Most cities, towns, and counties require a building permit for new fence construction, especially if the fence is over a certain height (typically 4 feet in the front yard and 6 feet in the back). A permit isn't just bureaucracy; it's a safeguard.
The permit process ensures your fence:
- Is structurally sound: Specifies how deep posts must be set (below the frost line) and how they should be secured.
- Follows zoning codes: Adheres to local rules about height, materials, and placement.
- Is on your property: Prevents you from accidentally building on your neighbor's land or on a public utility easement.
If you build without a permit, your local building department can issue a stop-work order, levy fines, and even force you to tear the entire fence down at your own expense.
Common Permit "Gotchas" to Avoid
Navigating the rules can be tricky. A good local contractor will know the specifics, but it’s wise for you to be aware of them too.
- Property Lines: You CANNOT guess where your property line is. You need a recent property survey (or plot plan) to be certain. If you don't have one, you may need to hire a surveyor for $500–$1,500. Building even six inches onto your neighbor’s property can lead to legal disputes and a court order to move the fence.
- Height Restrictions: Front yards almost always have lower height limits than backyards. For example, a town might allow a 6-foot fence in the back but only a 4-foot fence in the front.
- Setbacks: Your fence may need to be “set back” a certain distance from sidewalks, roads, or property lines. You can't always build right on the line.
- HOA Rules: If you live in a community with a Homeowners Association (HOA), you have a second set of rules to follow. They may be even stricter than the town's, dictating specific materials, colors, and styles.
- The "Good Side" Rule: Some ordinances require the “finished” side of the fence (the side without visible rails and posts) to face outwards toward your neighbors and the public.
What this means for you: Insist that your contractor handles the permit application. If a contractor tells you, “Don’t worry, you don’t need a permit for this,” consider it a major red flag. They are putting all the financial and legal risk on you, not themselves.
Hiring the Right Fencing Contractor
Choosing the right installer is just as important as choosing the right material. A great fence poorly installed will fail prematurely.
What to Look For in a Pro
- Licensed & Insured: This is non-negotiable. Ask for a copy of their state or local license, their general liability insurance certificate, and proof of worker's compensation coverage. This protects you if a worker gets injured on your property or if your property is damaged during the job.
- Fencing Specialist: For a large project, hire a company that specializes in fences, not a general handyman. They have the specialized tools (like power augers), knowledge of local codes, and efficient processes.
- Detailed, Written Quotes: A professional quote isn't a number scribbled on a business card. It’s a detailed document specifying the exact material, style, height, linear footage, number and size of gates, and an outline of the work to be performed.
- Local Portfolio and References: Ask to see photos of their recent work in your area. Even better, ask for the addresses of a few recent installations so you can drive by and look for yourself. A reputable company will happily provide references from past clients.
Red Flags to Watch Out For
- Large Upfront Deposit: A deposit of 10-30% to cover materials is standard. If a contractor asks for 50% or more of the total cost upfront, be very wary.
- Cash-Only Deals: A contractor who insists on being paid in cash, especially with a steep “discount,” may be operating without a license or insurance.
- High-Pressure Sales Tactics: Don't be rushed into a decision. A good pro will give you a detailed quote and ample time to review it, compare it with others, and check their references.
- Vague Contract: The contract should mirror the quote and clearly state the payment schedule, the estimated start and completion dates, and the specific materials to be used.
The Installation Process: A Step-by-Step Guide
Understanding the workflow can help you monitor progress and know what to expect.
- Utilities Marked & Layout: Before any digging, the contractor should call 811 to have public utility lines (gas, electric, water) marked on your property. Then, they will stake out the fence line according to the survey.
- Site Prep & Post Hole Digging: The crew will clear the fence line of brush or obstacles and remove the old fence if necessary. They'll then dig the post holes. For a sturdy fence, these must be dug below the local frost line (typically 24-36 inches deep).
- Setting the Posts: This is the most critical step. Each post is placed in its hole, made perfectly plumb (vertically level), and set in concrete. The posts are the backbone of your fence.
- Concrete Curing: The concrete needs time to harden. A good contractor will wait at least 24-48 hours before attaching anything to the posts. Rushing this step will result in a weak fence.
- Attaching Rails and Pickets: Once the posts are solid, the crew installs the horizontal rails between them. Then, they attach the pickets (for wood) or slide in the panels (for vinyl).
- Installing Gates & Cleanup: Gates are hung and hardware is installed. The crew then does a final cleanup of the entire work area, removing all debris and old materials.
- Final Walkthrough: Before you make the final payment, walk the entire fence line with the project manager. Check that gates open and latch smoothly, posts are solid, and the overall quality meets your expectations.
Long-Term Maintenance: Protecting Your Investment
Your fence is a significant investment, and proper care will ensure it lasts. Your maintenance routine will depend entirely on the material you chose.
- Wood: Clean your fence annually with a pressure washer on a low setting. Every 3-5 years, apply a fresh coat of high-quality stain or sealant to protect it from moisture and UV rays. This is the single best thing you can do to maximize its lifespan.
- Vinyl: Simply wash it down with a hose and a mild soap solution when it looks dirty. A soft brush can help with stubborn grime or mildew.
- Aluminum/Steel: These are largely maintenance-free. Just check periodically for any scratches or chips in the finish on steel fences and touch them up with paint to prevent rust.
What this means for you: When deciding on a material, be realistic about how much time and effort you're willing to commit to maintenance. The work isn’t over once the contractor drives away.
Frequently asked questions
Should I tell my neighbor I'm building a fence?+
Yes, absolutely. While you may not need their permission to build on your own property, informing them is a crucial courtesy. It prevents surprises and disputes, and gives you a chance to confirm your understanding of the property line before any work begins.
Can I save money by installing a fence myself?+
You can save on labor costs, but it's a very physically demanding job that requires specialized tools and knowledge. Improperly set posts are the most common DIY failure, leading to a leaning fence. For anything other than a short, simple fence, hiring a pro is usually worth the investment for a durable, long-lasting result.
What is a 'property line survey' and do I really need one?+
A survey is a legally accurate map of your property's boundaries created by a licensed surveyor. You absolutely need one before building a fence to avoid accidentally building on your neighbor's property or a town easement, which can lead to expensive legal battles and being forced to move the fence.
How long does a typical fence installation take?+
For an average-sized backyard fence, expect the process to take 3 to 5 days. This includes setting the posts on day one, allowing the concrete to cure for at least 24 hours, and then assembling the panels and gates over the following days. Weather can also impact the timeline.
How deep should fence posts be set?+
The rule of thumb is that at least one-third of the post's length should be buried in the ground and set in concrete. Crucially, the bottom of the post hole must be below your area's frost line to prevent the fence from heaving up during winter freezes. A professional local contractor will know the required depth for your specific climate.